This article is intended to help you customise the Rental CMA Report to include details about your agency, photos of the property and the lead agent's details.
Step 1: Select all the records to appear in the report as per HOW TO: Select results in a Rental CMA Report
Step 2: View the report set up page
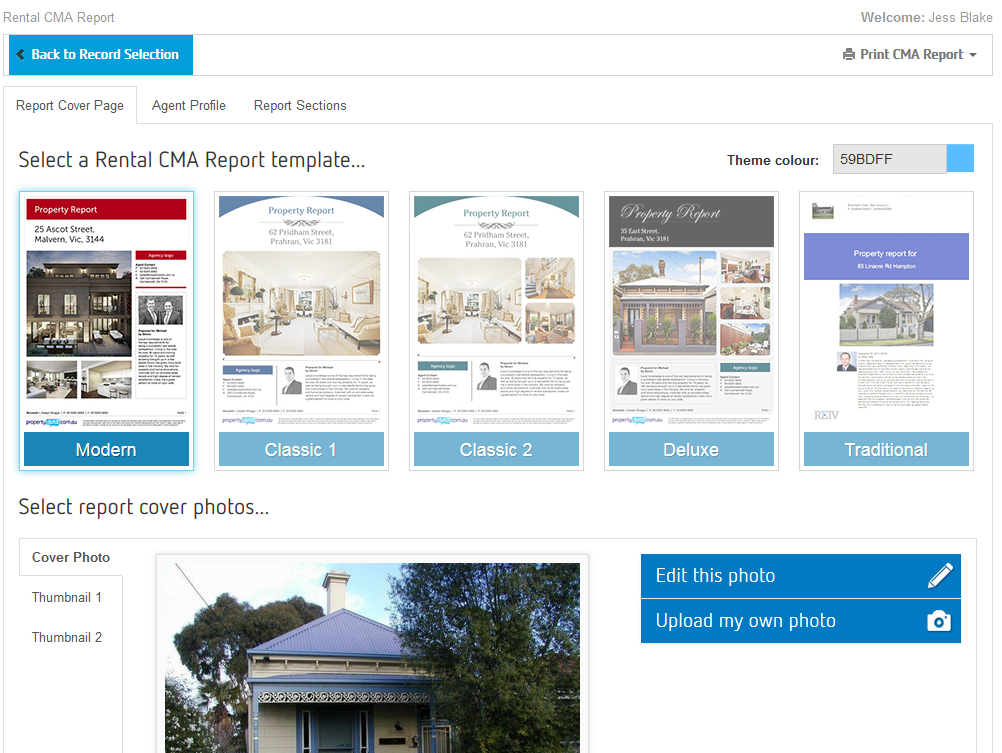
Step 3: Choose a CMA Report template by clicking on one of the designs
There are 5 templates to choose from: Modern, Classic 1, Classic 2, Deluxe and Traditional

Also note that the Theme colour is automatically selected based on your Account settings. You can also click on the Theme Colour if you would like to change it.
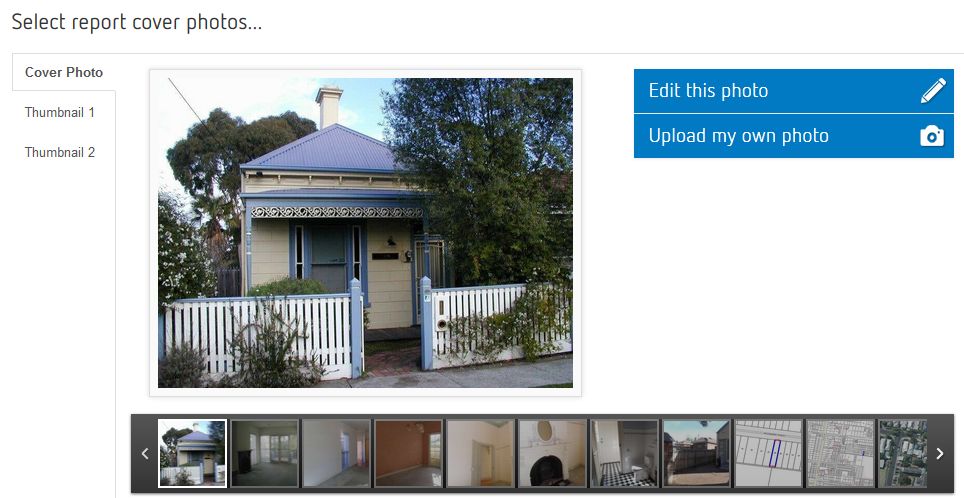
Step 4: Select report cover photos by choosing from the selection in the boxes below, or upload a photo by clicking on "Upload my own photo"
Depending on your theme, you may be able to choose multiple photos, by clicking on Thumbnail 1 and Thumbnail 2 as seen in the below example.
Step 5: Click on Agent Profile from the tabs at the top of the page, and select an agent from the drop down box.

To add an agent profile to the drop down box, please refer to HOW TO: Add, edit and remove Agent Profiles
Step 6: Click on the "Report Sections" tab at the top of the page. Decide which sections to include in the report by ticking and unticking the options
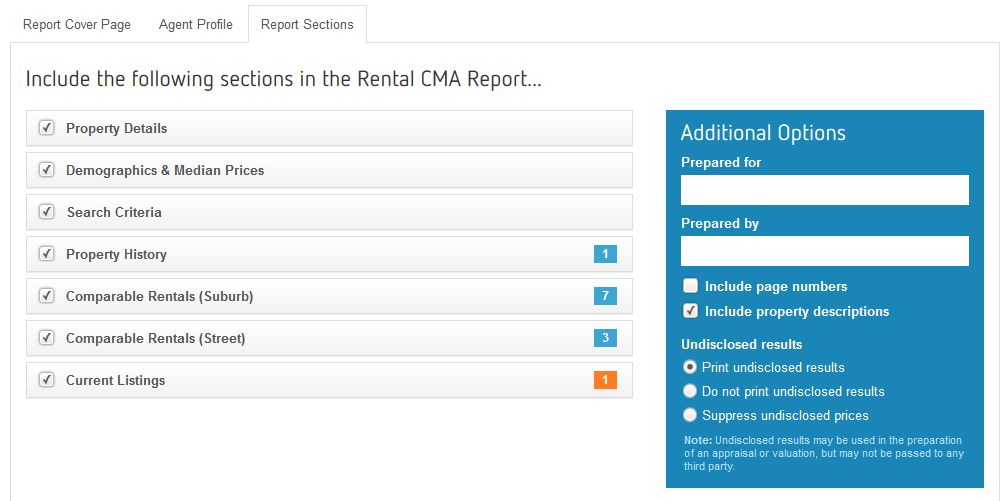

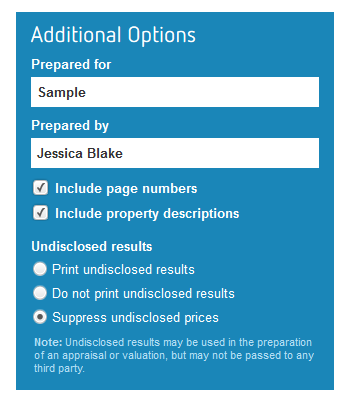
Step 7: Fill out any additional options in the box below, including who prepared the report and undisclosed results.
Step 8: Click on "Print CMA Report" and select either "View in browser" or "Download PDF"

For an example of a completed Rental CMA Report, please see the attached document.