This article is intended as a quick guide to help you run Sales CMA Reports.
Step 1: Select the "Sales CMA Report" tab from the toolbar

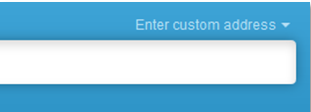
Step 2: Start typing the target property address into the top search bar and select the property from the drop down box

If the property does not appear in the list, you can enter a custom address by clicking "Enter custom address"
Step 3: Refine the search data by entering a date range and radius distance as well as any further criteria

Step 4: Click "Start CMA Report" to continue to the results summary page, and then click "Continue"

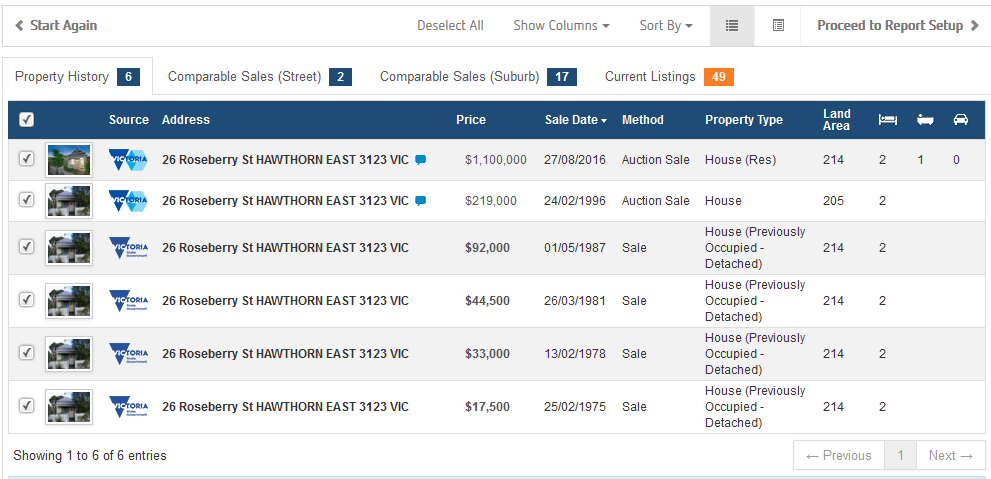
Step 5: Select which sales you would like to appear from the Property History
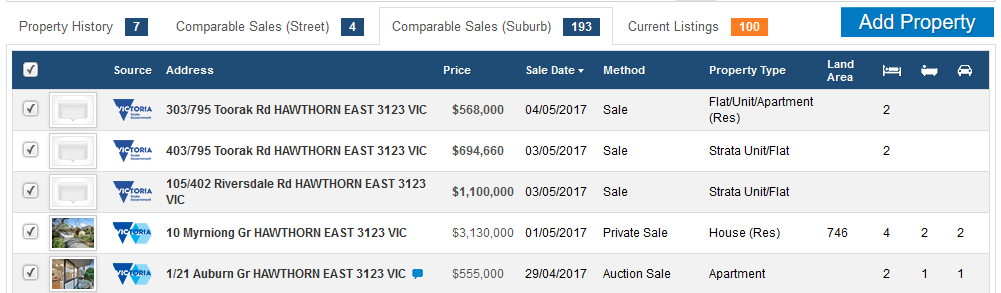
Step 6: Select which sales you would like to appear from the same street as the target property in the Comparable Sales (Street) tab

Step 7: Select which sales you would like to appear from the same suburb as target property in the Comparable Sales (Suburb) tab
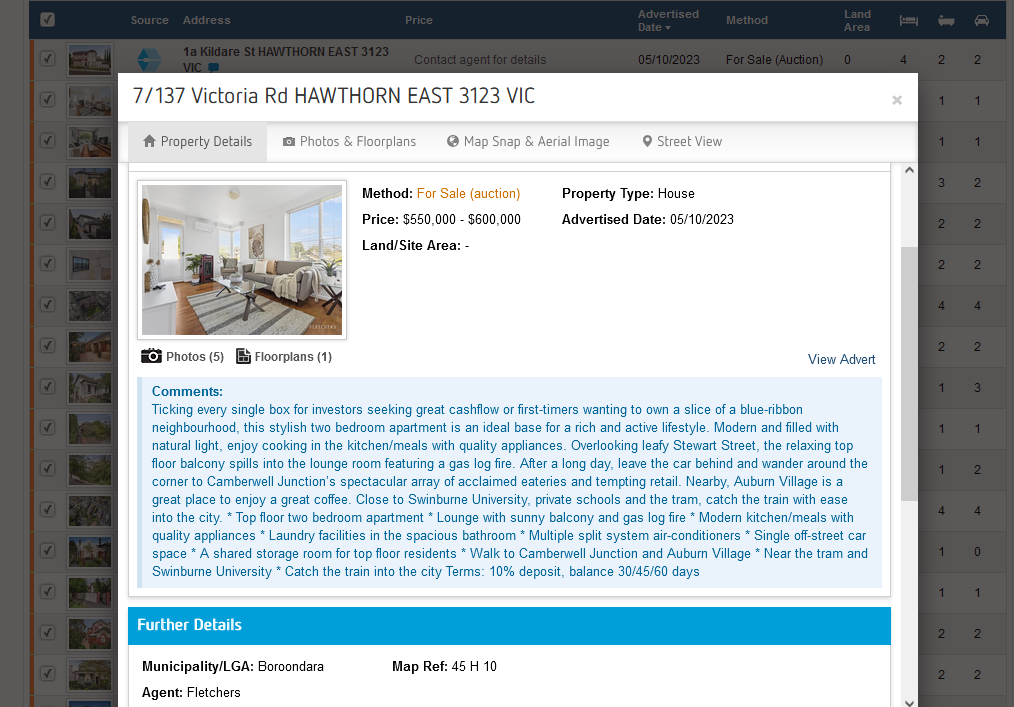
Step 8: Select which current listings you would like to appear on the report

You can click on each record to get further information
Step 9: Click on "Proceed to Report Setup"
Step 10: Select a template for the report
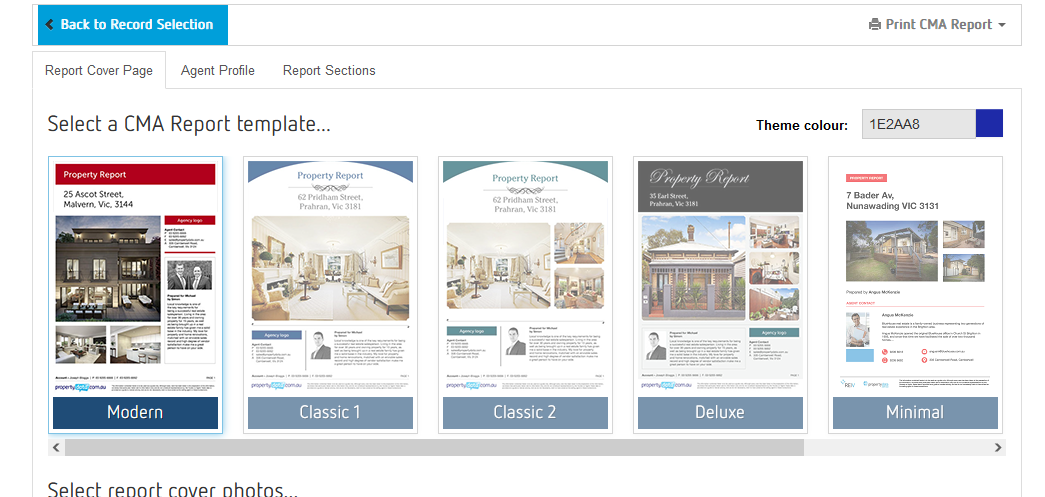
Step 11: Select images to appear on the report for the target property. You can also upload your own photos

Step 12: Click on the "Agent Profile" tab and select an agent from the drop down box

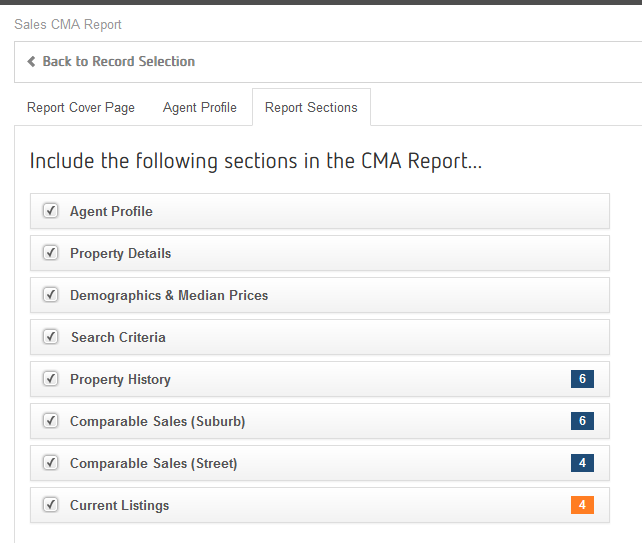
Step 13: Click on the "Report Sections" tab and select which sections to include
Step 14: Fill in any additional options

Step 15: Click on "Print CMA Report" and select "View in browser" or "Download PDF"

For an example of a completed Sales CMA Report, please see the attached document.