This article is intended as a quick guide to help you run Sales CMA reports in the PropertyDATA app for iOS.
Step 1: Open the PropertyDATA app on your device by clicking on the PropertyDATA icon
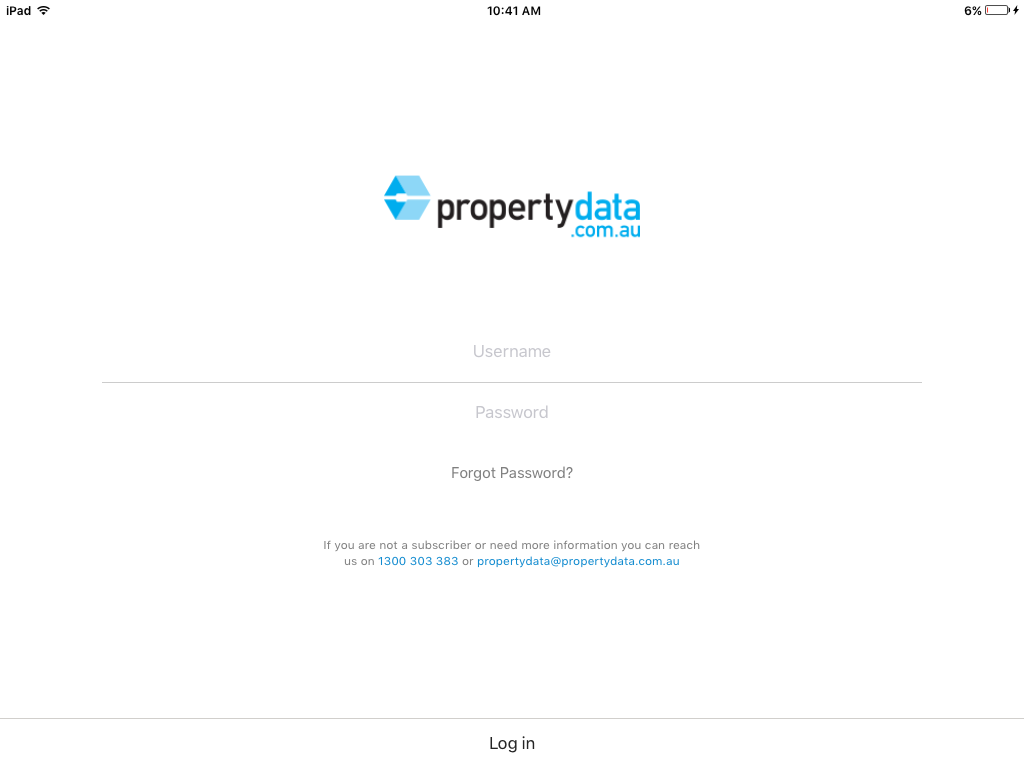
Step 2: Log in to your PropertyDATA account by entering your username and password on the login page.
If you are unsure of your login details, please contact our support team on 1300 303 383 or email support@propertydata.com.au
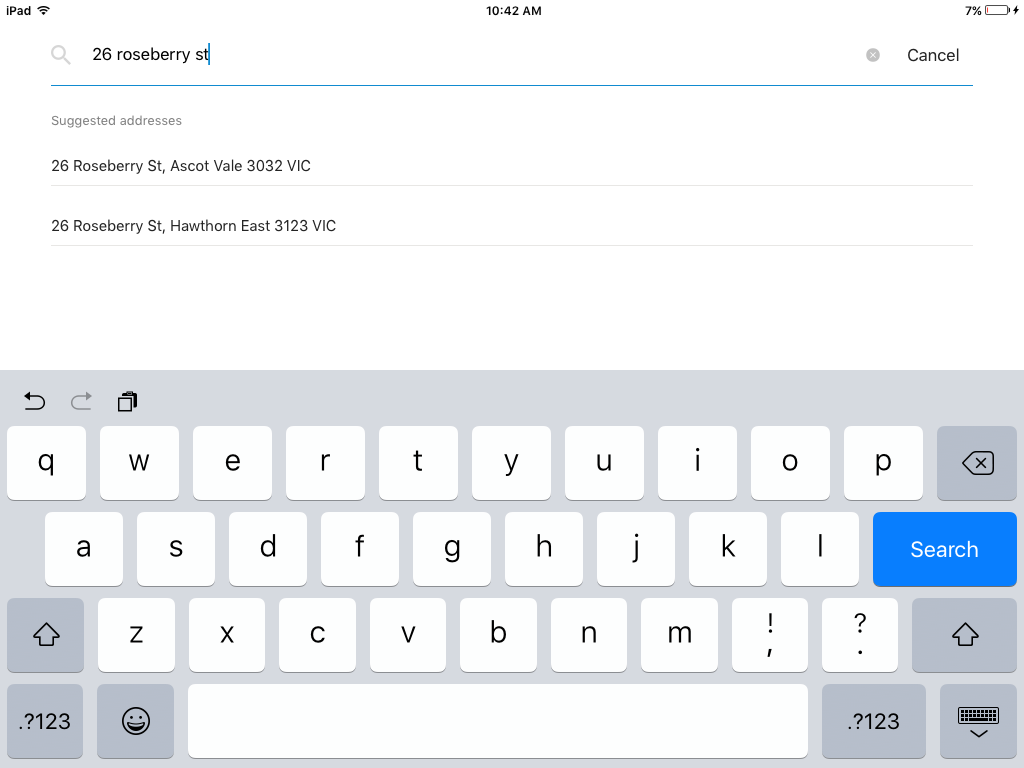
Step 3: Type in your target address for your CMA into the search bar
 Ensure you select the address from the drop down list that appears. If the address does not appear in the list, please contact our support team.
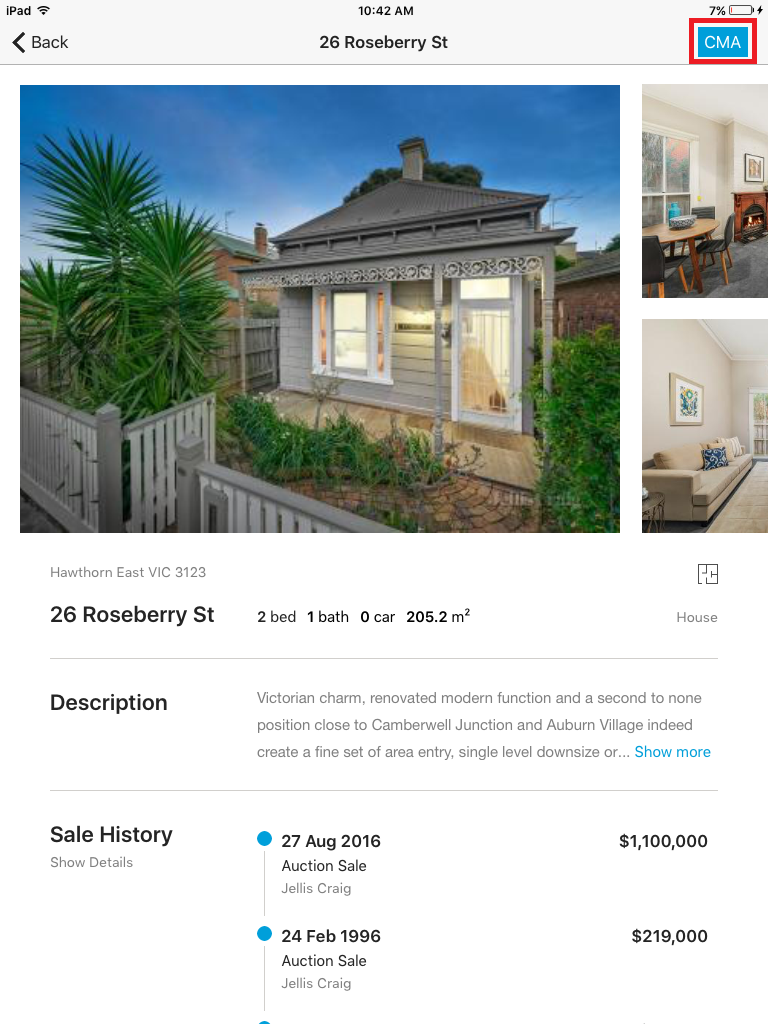
Step 4: View information from the most recent sale of the target property. Tap on "CMA" at the top once you are ready to continue
Step 5: Input your search criteria by tapping on each option
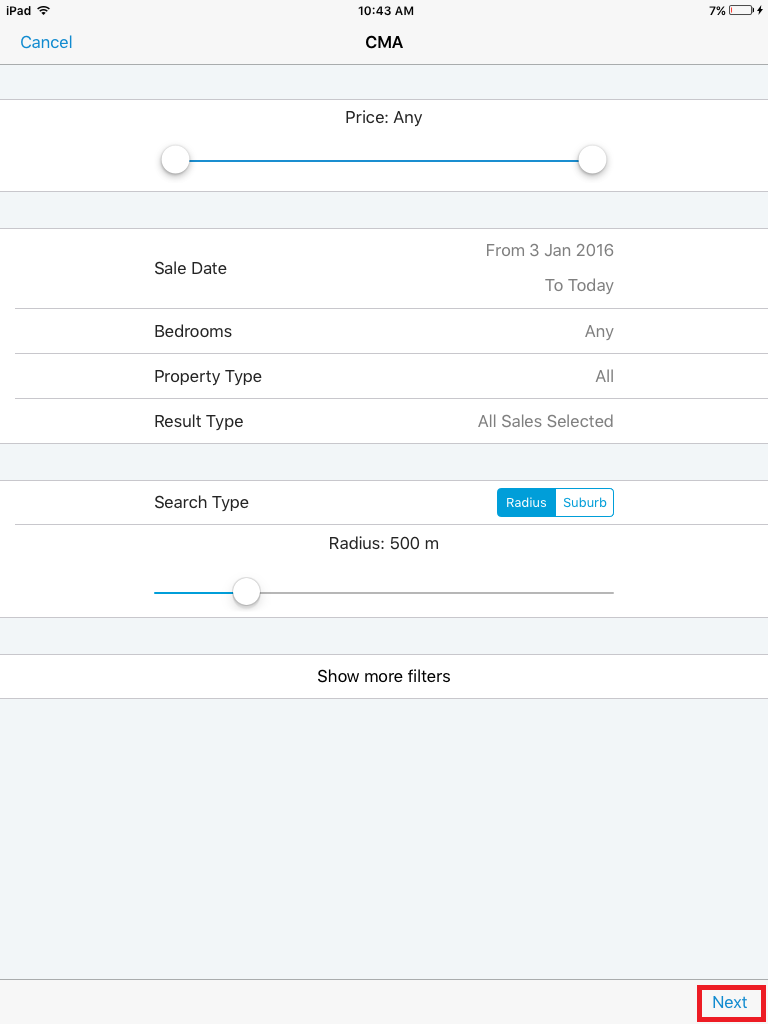
Step 6: Once you have entered all your search criteria, tap on "Next"
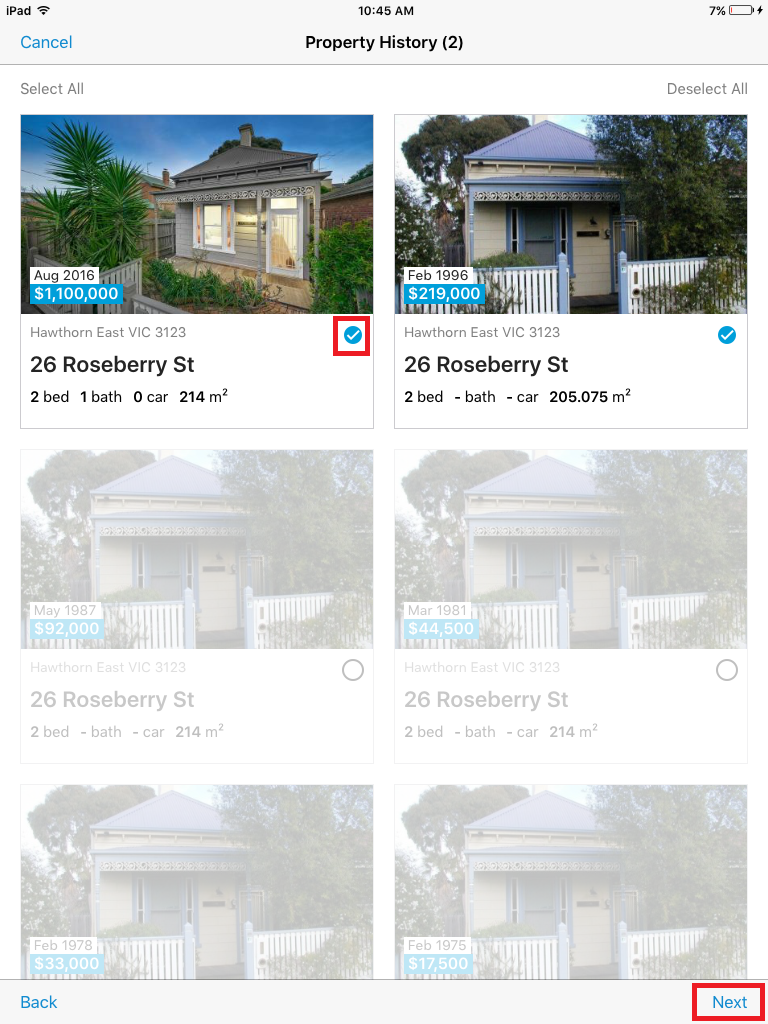
Step 7: Select the records from the Property History that will appear in the report. You can select and deselect records by tapping the blue ticks. If a records is greyed out and has no tick, it has not been selected and will not appear on the report. Tap "Next" when you wish to continue
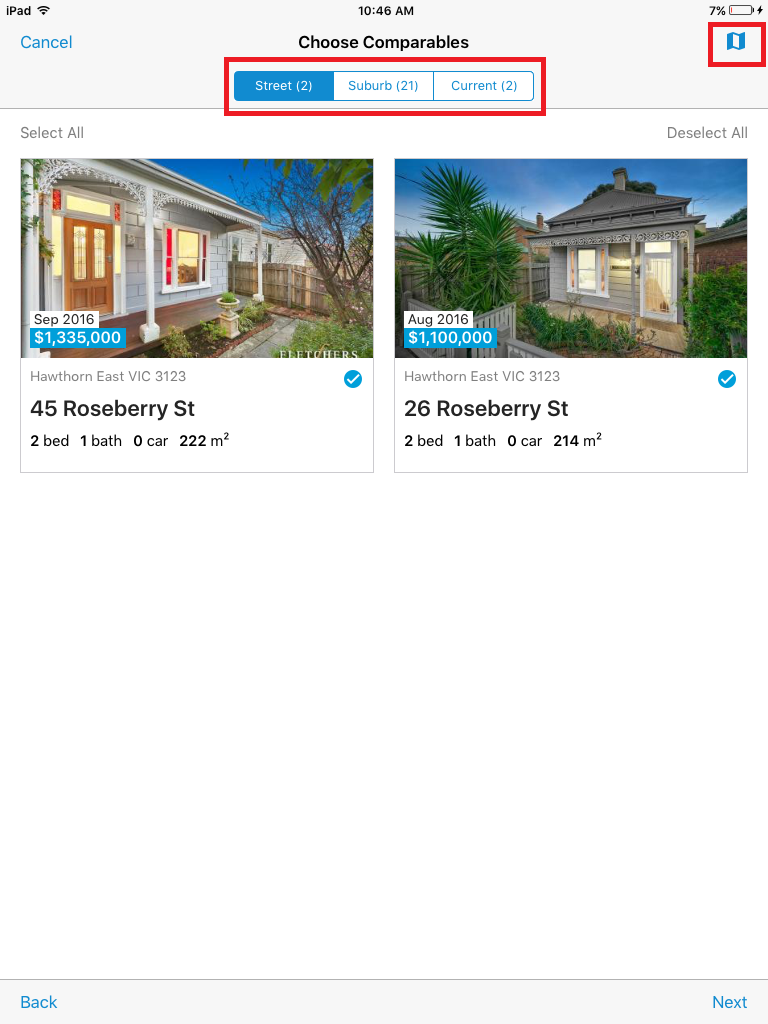
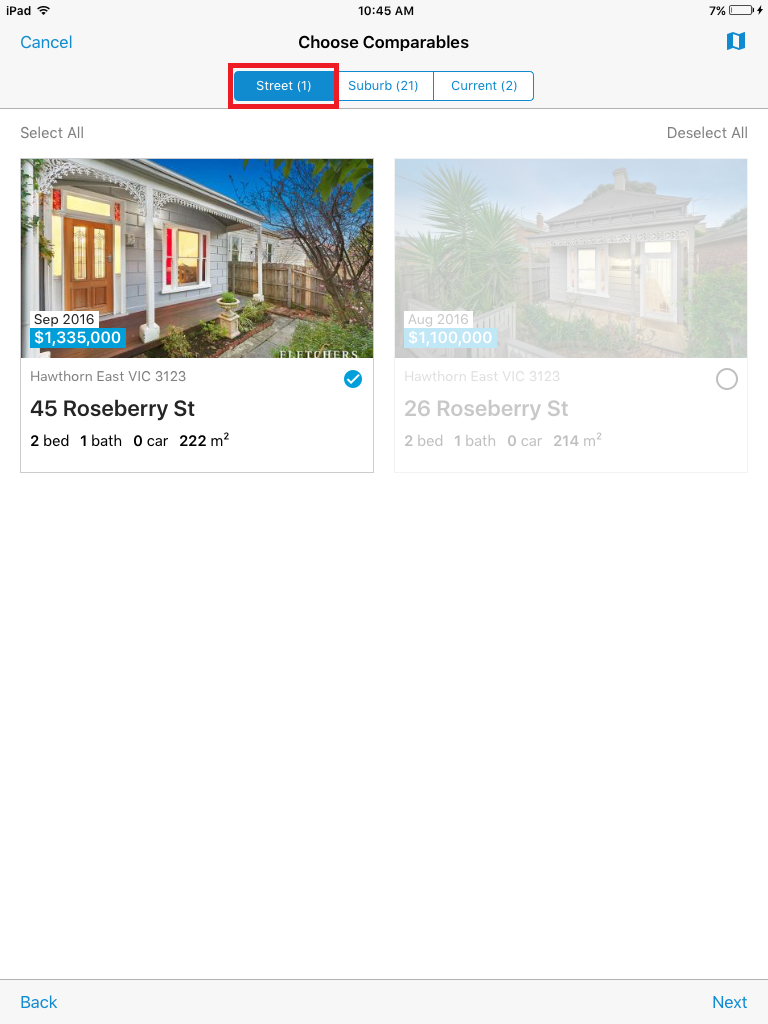
Step 8: Choose comparable sales by navigating to the different tabs at the top of the results. You can choose Comparables from the Street, Suburb and Current Sales. To select a sale, ensure it has a blue tick. If you do not wish to select it, ensure the images are greyed out.
TIP #1: Tap “Deselect All” in the right hand corner to deselect all the options and simply scroll through and tick the records you wish to include
TIP #2: Tap on the image of the folded map at the top right hand corner of the screen to view a map with all the comparables in relation to the target property
Comparables - Street
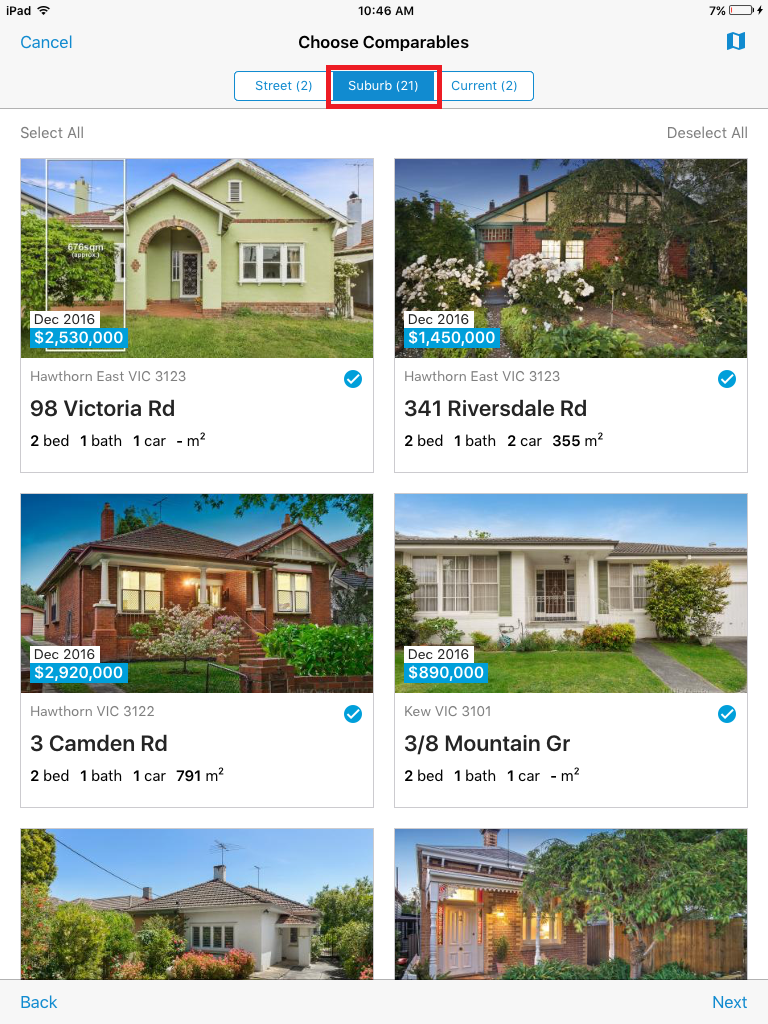
Comparables - Suburb
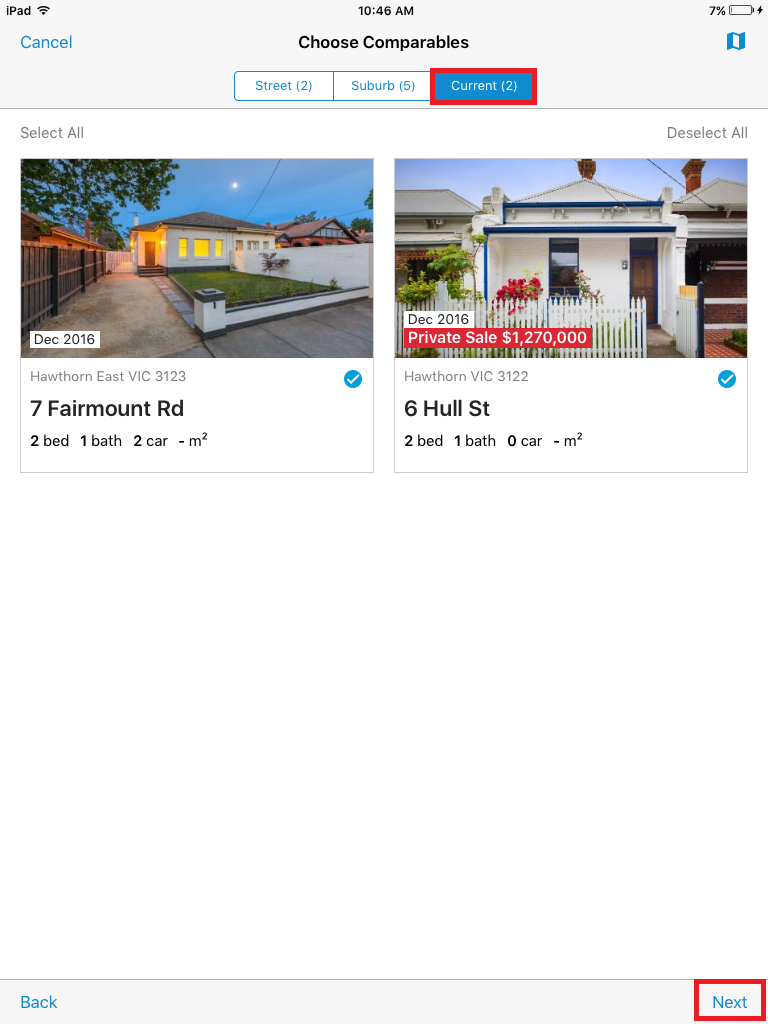
Comparables - Current Listings
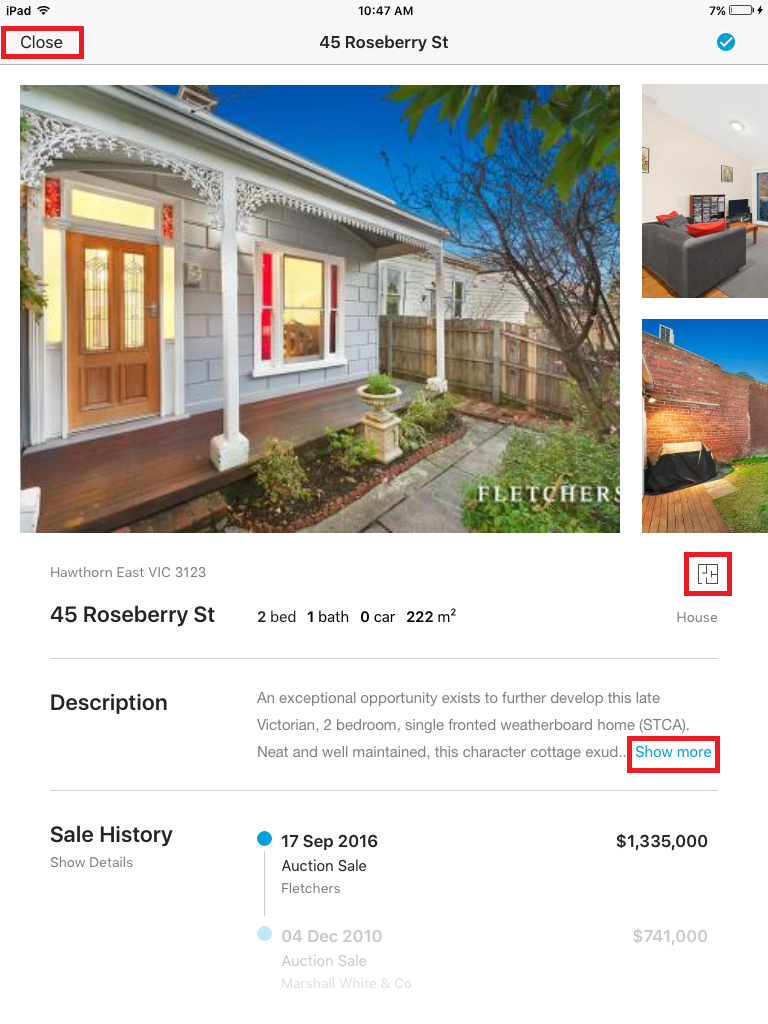
TIP #3: If you want more information about a comparable sale, tap on the image and it will bring up a summary of the sale
Step 9: Tap “Next” at the bottom right corner to proceed to the report setup screen
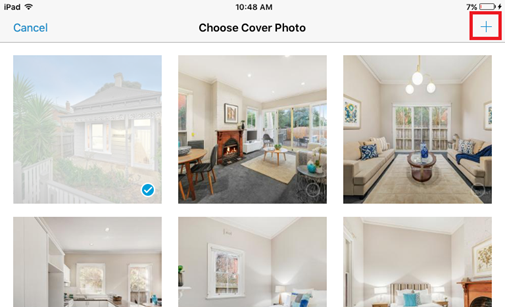
Step 10: Select the Cover Photo and two Thumbnail Photos for the report by tapping on the photo you wish to choose. Alternatively, you can tap the plus sign at the top right hand corner to add a photo of your own. Tap “Next” on the bottom right corner to progress to choose the next photo. Once you choose the Second Thumbnail Photo, tap “Next” to choose an agent profile
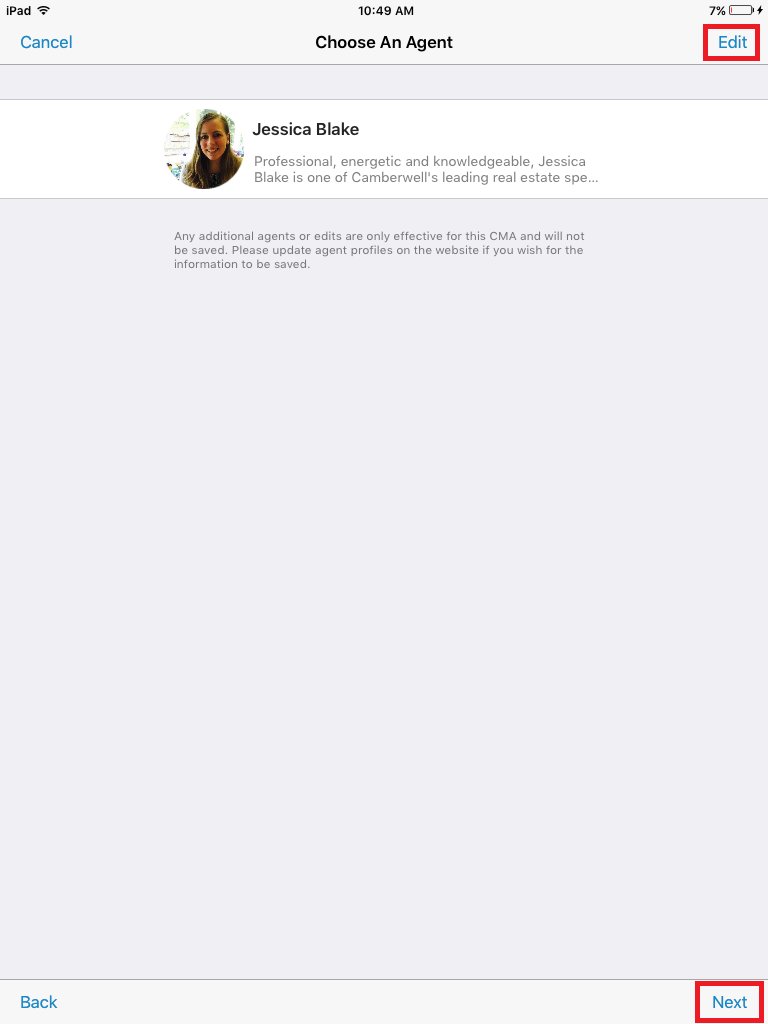
Step 11: Choose an Agent to appear on the report by tapping on the person's name. If you need to add a new agent, tap on Edit
Once you tap edit, the below will appear, and you can choose add an agent by tapping on the blue plus sign, or edit one of the existing agents by tapping on the pencil icon next to their name
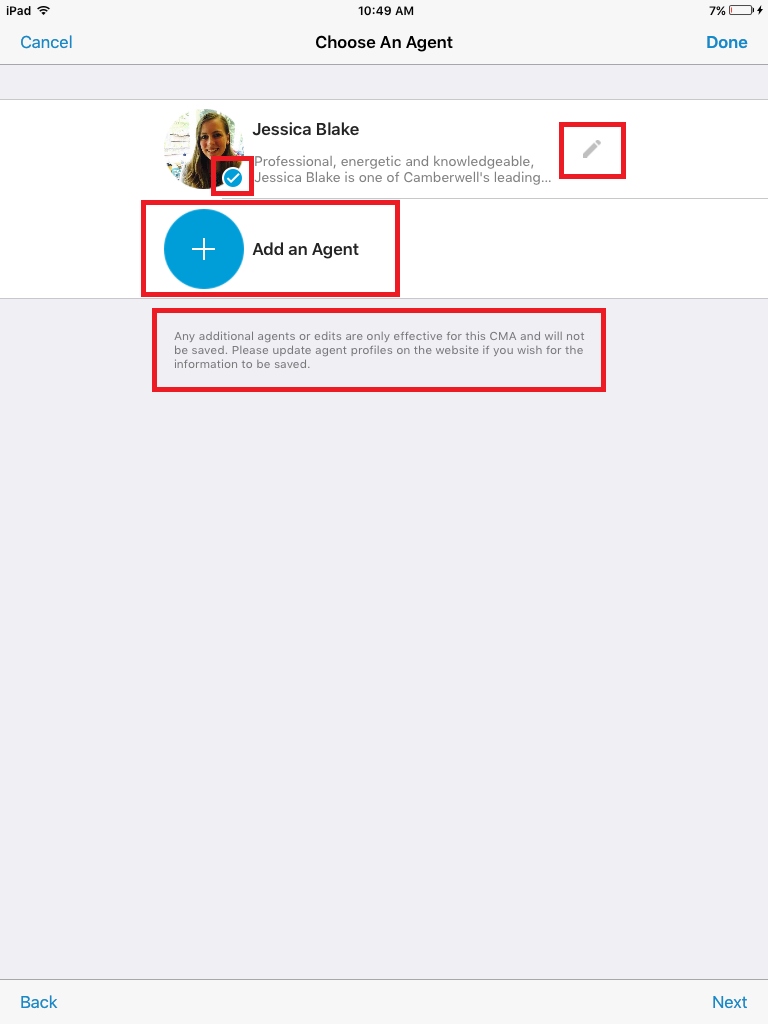
Please note that any agents you add on the app or changes that you make will NOT be saved. If you wish to make permanent changes, log in to the website and change the agent profiles there.
Step 12: Once you have selected an agent, tap "Next" to continue
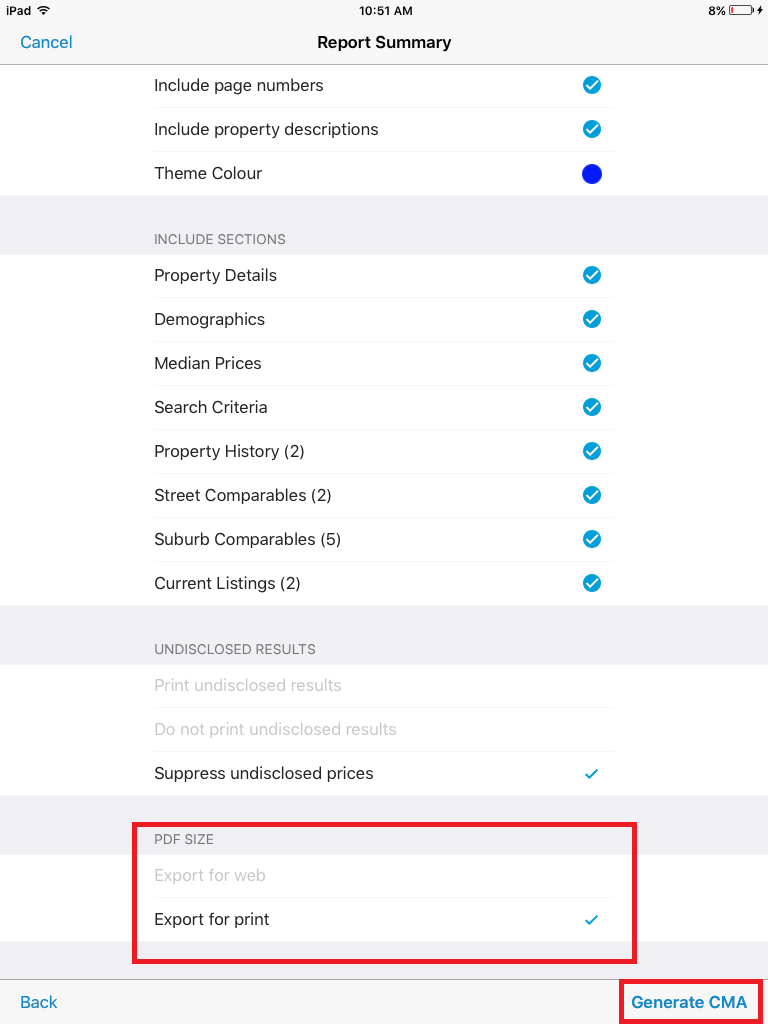
Step 13: Review the Report Summary and decide which elements of the report you will like to include and exclude. You can add who the report was prepared for by tapping the "Prepared For" section. You can include and exclude features by ticking and unticking them
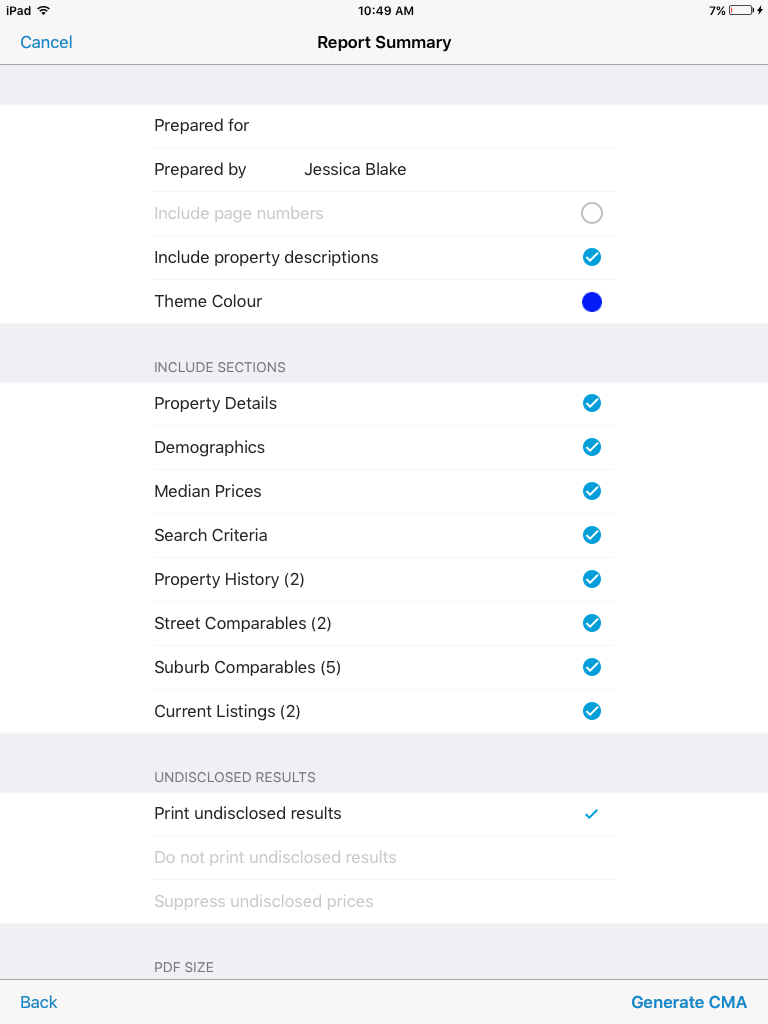
Step 14: Decide which size PDF to print. The "Export for web" option will create a smaller PDF, and the "Export for print" option will be a larger file with higher quality photos. Then tap "Generate CMA" on the bottom right corner
Step 15: View your CMA report. You can then choose to print or email the document by tapping on the icon at the top right corner
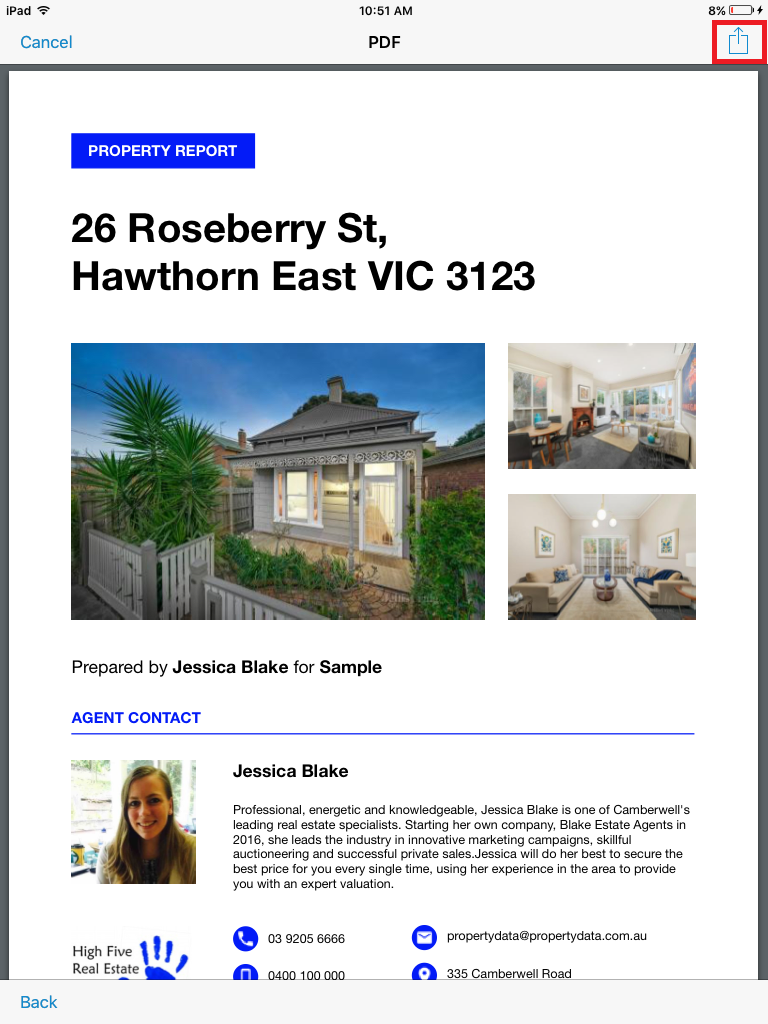
See attached for a sample of a CMA report from the iOS app.